This one was so fun and super easy! As I often do, I was on the hunt for another holiday project. While in Michael's I found these adorable little baroque frames. I immediately thought that it would be cute to add them to a wood board and make a cute Valentine's plaque. The cost of this plaque is under $15 and is a great project to do with the kids!
Here is the tutorial~
Materials-
Wood plaque or board
Off white acrylic paint
Sand Paper
4 small decorative mirrors- ($1.50 @ Michael's)
Scrapbook paper- 3 different designs
Decorative scissors
Hot glue
Medium tack spray adhesive
"LOVE" Vinyl lettering. Only $3.75!
First you need to get yourself a wood plaque. I cut and prep these myself. It is not as hard as you think. Go down to your local hardware store and purchase a pine board that is about 8" wide. They usually come in lengths of 6', 8', 10', and such. If you go to Home Depot they will cut it for you! Just tell them the length you want and they will cut the board down to create several boards for all of your craft projects! For this project I used a board that was cut down to 24" long by about 8" Wide.
Be sure to sand the edges and surface of your wood to ensure a smooth finish. If you have the skills and the tools you can even use a router to give your plaque and decorative edge.
Next, paint the outer edges and a border around the surface of your board. No need to paint the entire surface because your paper will cover most of it. As you see below, only about 1/4" of the wood is exposed after the scrapbook paper is applied.
Next, cut your paper to fit your board. Keep in mind that if you use a board that is longer than 12" you will need to use 2 pieces of paper to cover the length of your board. My paper measures 6"x 10" each. This leaves a 1" border around the surface paper. If you choose a paper with a print, be sure to match up the design at the seam so that the seam is somewhat disguised. When you apply the frames they will cover a lot of the board so no need to worry about the seems being very noticeable.
Continue to cut a 1" border for the outer edge of your board using scalloped craft scissors to create a cute scalloped border. Leave one edge straight. It can be tricky to keep your cuts level when using scrapbook scissors. It makes it much easier to match up your borders if you use your original cut as a template by lightly tracing your original strip onto your paper. Your will end up with 6 strips- 2 for the side and 4 for the top and bottom. (See photo below).

Once you have cut all of your paper, do a test run to make sure all of your paper fits the surface the way you want it to. You will overlap your trim pieces (red) onto your surface paper (pink) so that you cannot see the edge of the pink paper. Once you are satisfied with the look, use your spray adhesive to adhere your paper to the board. The adhesive is a great alternative to using Modge Podge and is MUCH less messy! Just be sure to spray it outside or in a protected area because the over spray of the adhesive will stick to your surfaces and is VERY difficult to clean up.
This is what is should look like-
Now it is time to prepare the frames. I chose 3 rectangle and one round frame. Michael's has red, black, blue and cream frames. I chose red and blue but lightened the blue by painting it.
Turn the frames over and remove the stand and backing clips. You do not want these on the frames because they are bulky and prevent the frames from lying flat on the board. No worries about them staying closed because it will be glued shut when you glue it to the board.
Remove the paper inside the frame and replace it with coordinating scrapbook paper. It makes it easier if you use the original template from the frame to trace your new paper.
Next glue your frames on your board spacing them evenly. I find it easier to place the first frame and then the last before placing the 2 in the center. This will ensure better spacing.
Last, place your vinyl letters on the front of the frames and you are done! (You can order the lettering from me for only $3.75. Just shoot me an email!
designbykelli@gmail.com)
HOW CUTE IS THIS?!


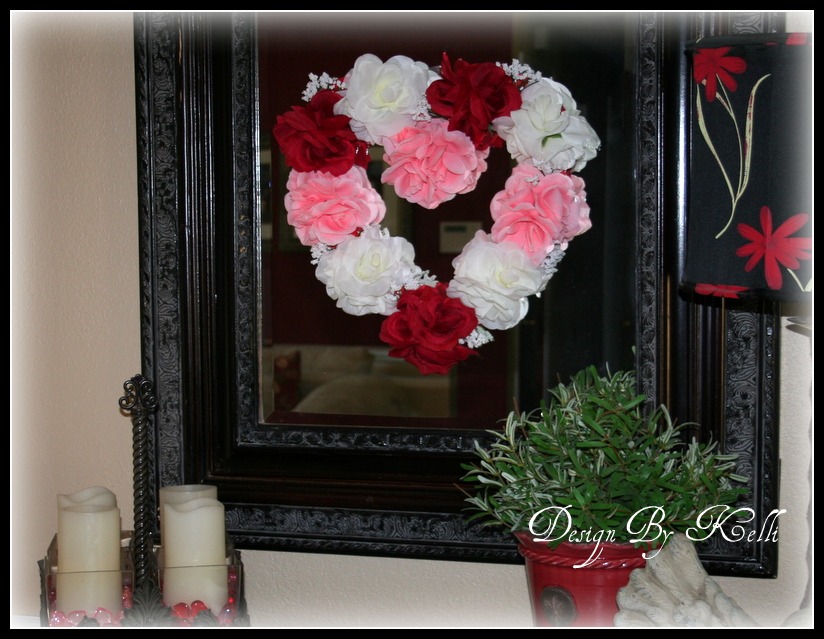
 -Your next step is to cut out your template for the wreath's "Frame". You will do this by taking your poster board or large paper and folding it in half. This will ensure a perfect heart. Cut it about 13" W and 14" H. (Measurements at the widest and tallest points of the heart.) The measurements do NOT have to be exact but this is a good size for the amount of flowers you have.
 You will use this as your template for the frame. Place the template on the foam board, trace it and then cut out the image with your exacto knife.


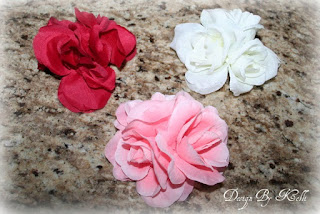
 -Now it is time to glue your flowers on the frame. Layout the flowers on the frame BEFORE you glue them. This will ensure that you have them placed evenly. Play with them to decide what order you want them in and where you want to place them.


 Order any valentine design and you will receive 20% off your design!


