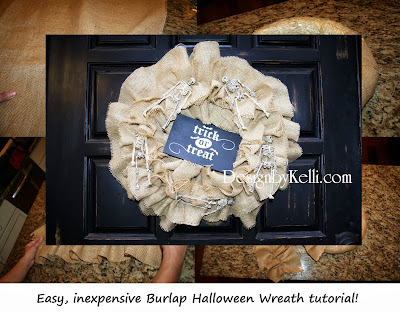
There are so many cute burlap wreaths floating around the internet. I thought I would make one but of course I had to give it my own twist! My oldest daughter actually helped me with it this time! So here is my Halloween Burlap wreath! It was so easy and cheap!!!

Supplies-
Straw wreath (JoAnn's-$3.00) You can use a foam wreath form as well but they are about twice the price.
Natural Burlap (1 yard- $3.99)
Glue Gun
Dollar Tree Skeleton garland ($1.00)
Wood plaque
Halloween Vinyl...(I can get this for you!)
So here is what I did~
Cut 3" strips of burlap. Glue one end to the wreath and wrap. (LEAVE the plastic on the wreath. This will prevent any moisture from getting into the straw.)
*Tip for cutting burlap- pull out a string along the edge that you are cutting. This will create a natural line for you to follow when cutting... (see picture below).


Once you have covered your wreath, glue the end down with hot glue. If you want to add a loop to hang, now would be the time. I would recommend a ribbon so that you don't have to deal with fraying.

Next cut a 6" strip of burlap and gently tug the string in the center. DO NOT PULL IT ALL THE WAY THROUGH. Hold one end and with the other end pull the string to create a gather. I cut along the short end of the piece of fabric so I used 2 separate pieces to get the right length.

Once you get the desired gathering, hot glue the burlap to the wreath. You will then make a second layer by cutting a 4" strip of burlap and gather it as well. You will glue the 4" strip on top of the 6" strip to create a darling multi-layered effect.

This shows the first layer. Glue the 4" strip on top of this.

You are almost done! Lastly you will add the skeletons and your decorative plaque. I wired my skeletons on so that I can remove them in case I choose to use the base wreath other times of the year. :) I put a string on the back of the board and hung it on my door hook (behind the wreath) and then pulled it through to the front of the wreath so that it wasn't permanent as well. That's just how I do things! MULTI-PURPOSE!
EASY PEASY!!!!! and CHEAP!

No comments:
Post a Comment